Getting started with installing an Electrical Socket Box don't let complicated steps discourage you. With the right enclosure, quality tools, and clear directions, you can retrofit or add new outlets with assurance. Modern boxes come with mounting flanges or old work wings that clamp securely to drywall, eliminating guesswork about depth or placement. A sturdy enclosure from trusted manufacturers protects wires and maintains clean surfaces.
Step 1: Prepare Tools and Ensure Safety
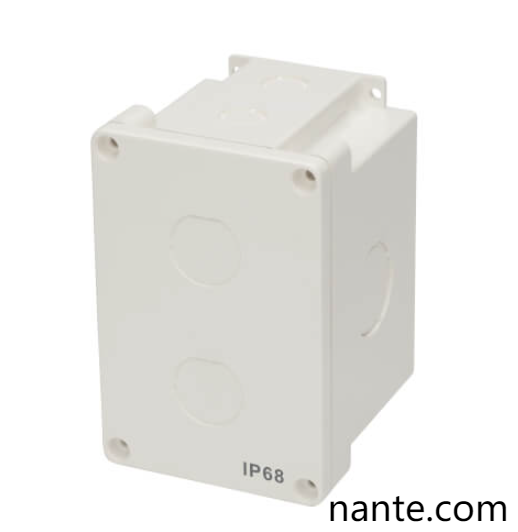
First, disable the circuit at the panel and verify power is off with a tester . Gather essentials: insulated screwdrivers, wire strippers, voltage tester. Choose an enclosure rated for your cable and fixture type—plastic for standard runs, metal if strain relief is needed or local code requires .
Step 2: Choose Location and Cut Opening
Measure placement carefully. Enclosures equipped with built in tabs ensure the front edge sits flush with future wall surfaces. Trace around the mounting guidelines and cut a tidy hole using drywall tools. Drywall mount boxes clamp safely inside existing walls—no need to access framing.
Step 3: Secure the Electrical Box
Insert the enclosure and tighten built in clamps or feed nails into studs for hard mount enclosures . Plastic wings or metal mounting screws hold flush without tilting. Avoid damaging internal components when fastening.
Step 4: Prepare and Route Cables
Run cable through knockouts or grommets and secure with clamps such that no excessive pull can occur. Leave enough slack—at least six inches of conductors inside—to allow comfortable wiring.
Step 5: Strip and Connect Wires
Strip begins about 1 cm from ends and form tidy loops around each terminal . Attach hot (brass), neutral (silver), and ground (green or bare) to receptacle screws moving clockwise. A secure ground ensures safety, especially when metal enclosures are in use.
Step 6: Mount the Receptacle and Cover
Gently fold wires into the enclosure, avoiding kinks, then align the receptacle and secure it with screws. Fit a cover plate over the outlet—it protects wiring and gives a professional finish.
Step 7: Restore Power and Conduct Tests
Re-enable the circuit at the panel and use a plug in tester or voltage meter to verify proper polarity, voltage, and grounding. Ensure there's no flicker, excess heat, or unusual noises. If anything seems off, kill power again and check connections carefully.
Step 8: Finishing Tips
Maintain consistent box height and alignment across a room. Use drywall reference strips during new builds to keep depth accurate. For heavier cords, favor metal boxes to reduce strain and satisfy regulatory safety standards.
Throughout the process, keep safety in mind: always verify power is off, use correct tools, and consult professionals if the job involves tougher elements or service panels. A reliable Electrical Socket Box fitted properly not only enhances convenience but also ensures lasting performance and protection.
Nante provides a range of well designed enclosures that come ready with mounting features and quality grommets, simplifying each installation step . Each box is built to withstand typical site conditions, and many models support old work installation to keep mess minimal. Their products cater to both interior and exterior usage with suitable ratings and versatile mounting methods.
If you're planning new outlets in a renovation, workshop, or smart home upgrade, choosing a durable box with built in installation aids saves time and avoids rework. With clear instructions, inclusive mounting hardware, and quality finishes, hosting your own wiring project becomes far more achievable.Discover the full range tailored to both DIY and pro use at https://www.nante.com/product/ .